Chances are, you've had steak fingers at a roadside diner, a school cafeteria, or in your grandma's kitchen. If you grew up in the south, you probably remember having the best country-fried steak fingers at Dairy Queen.
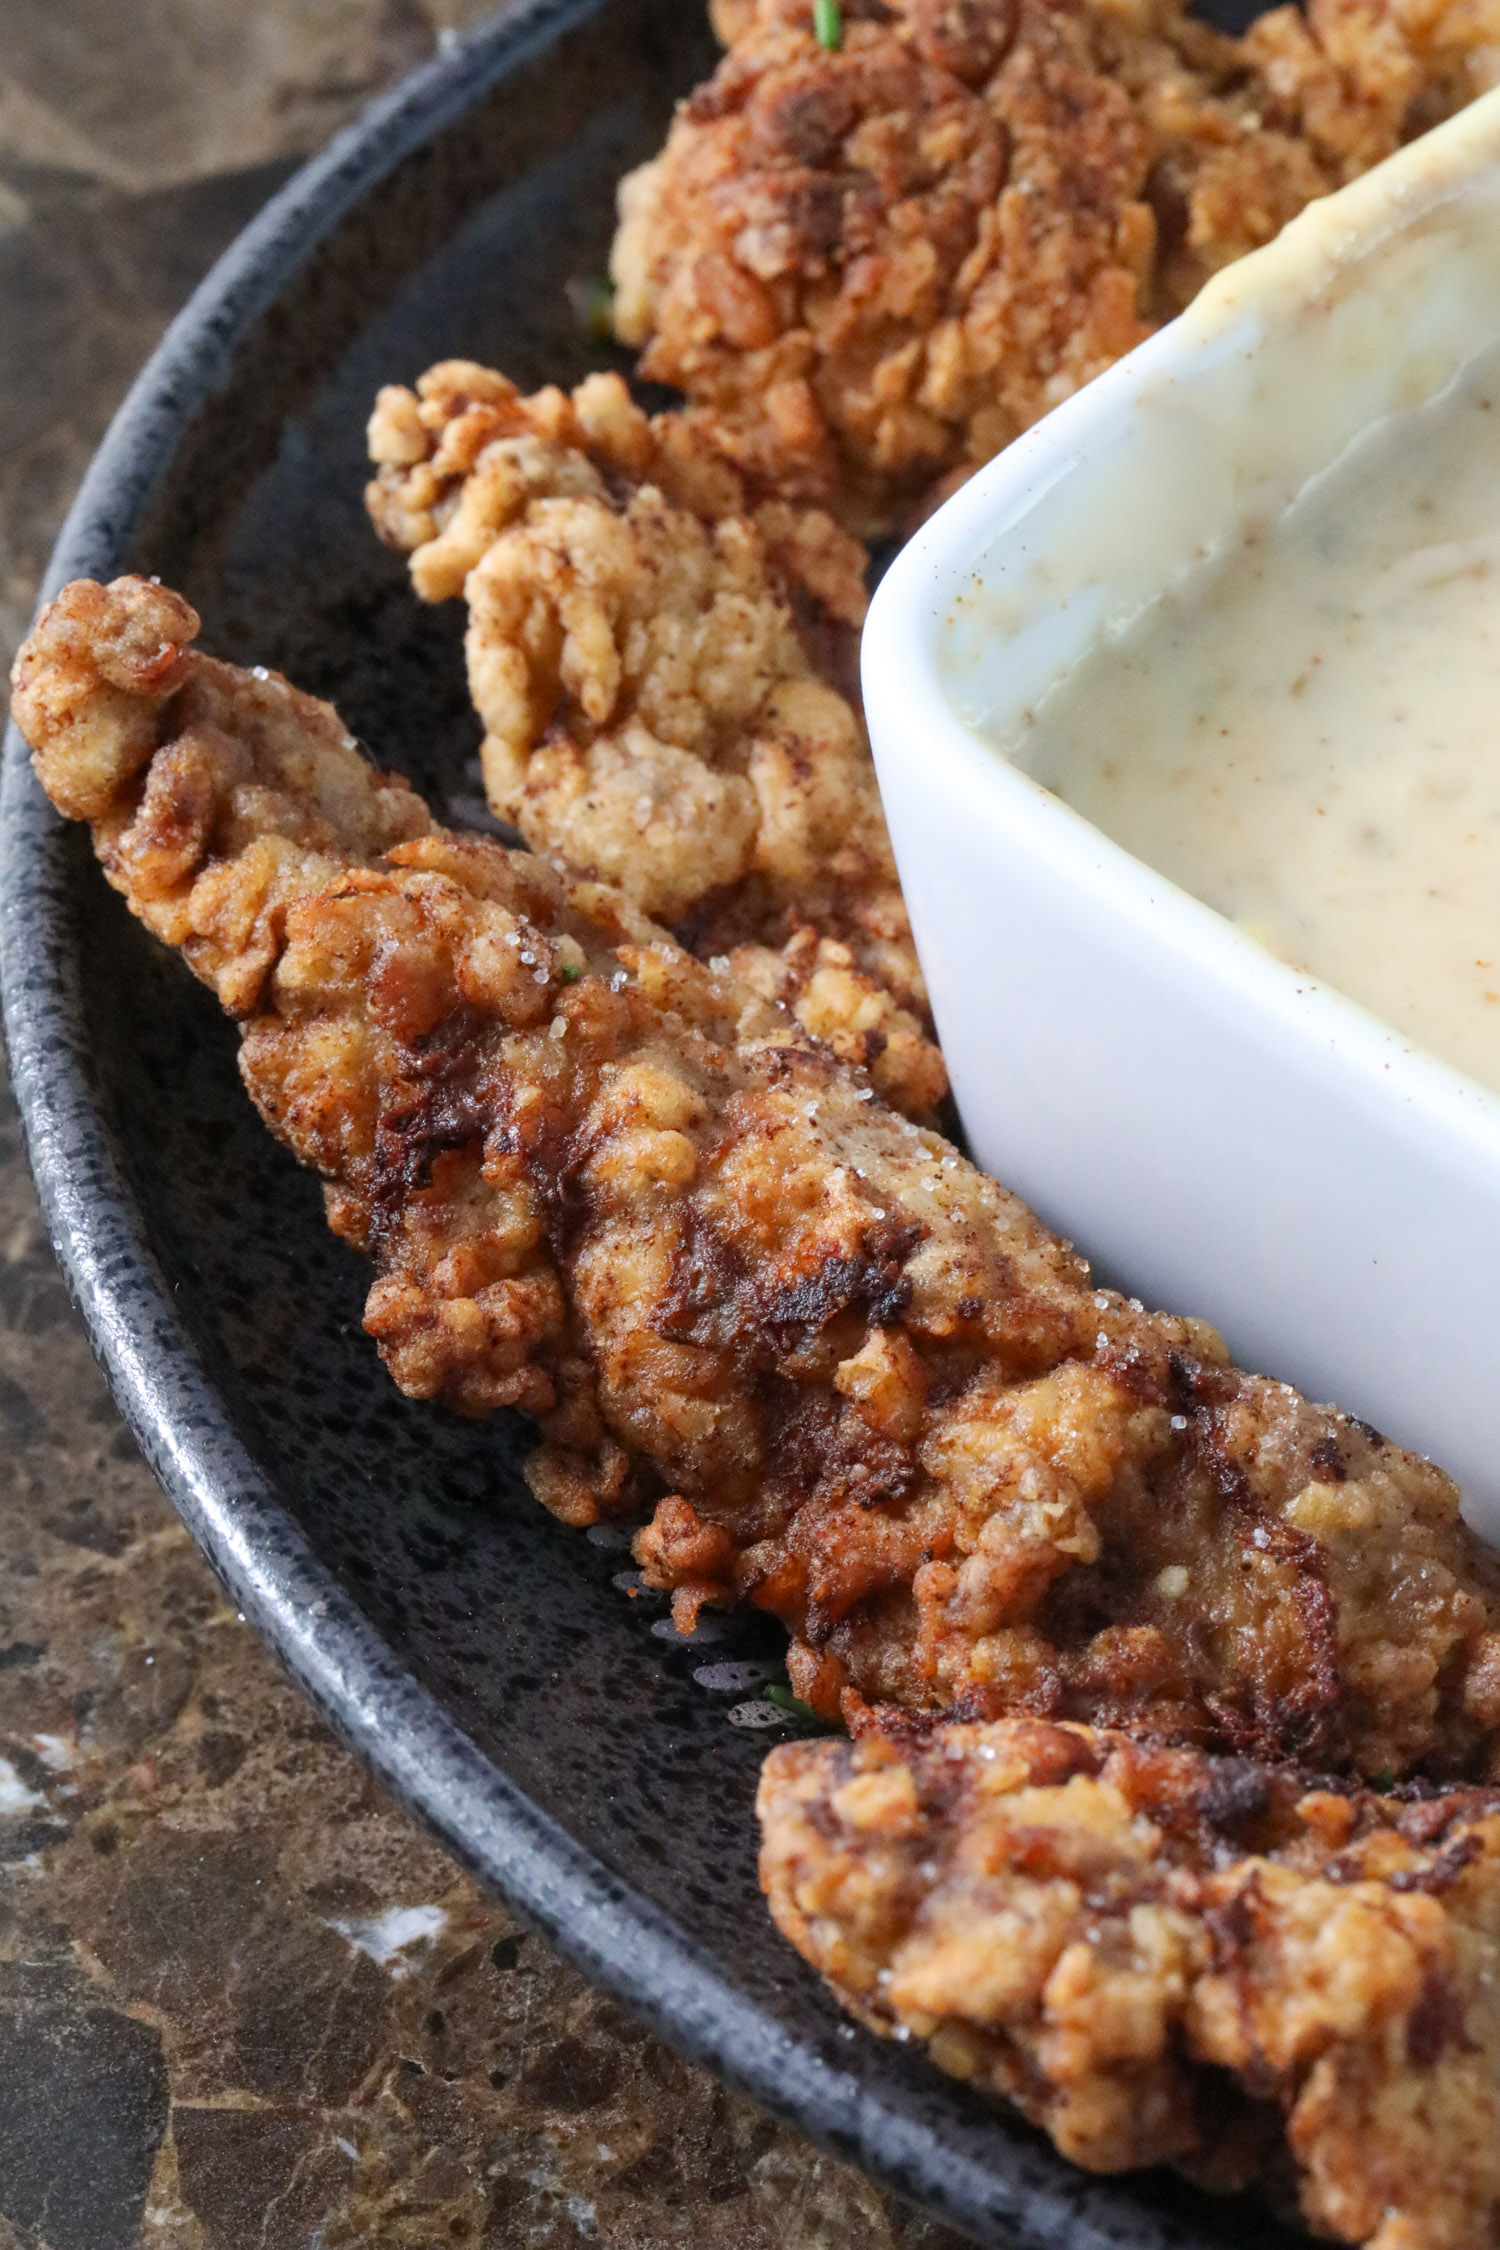
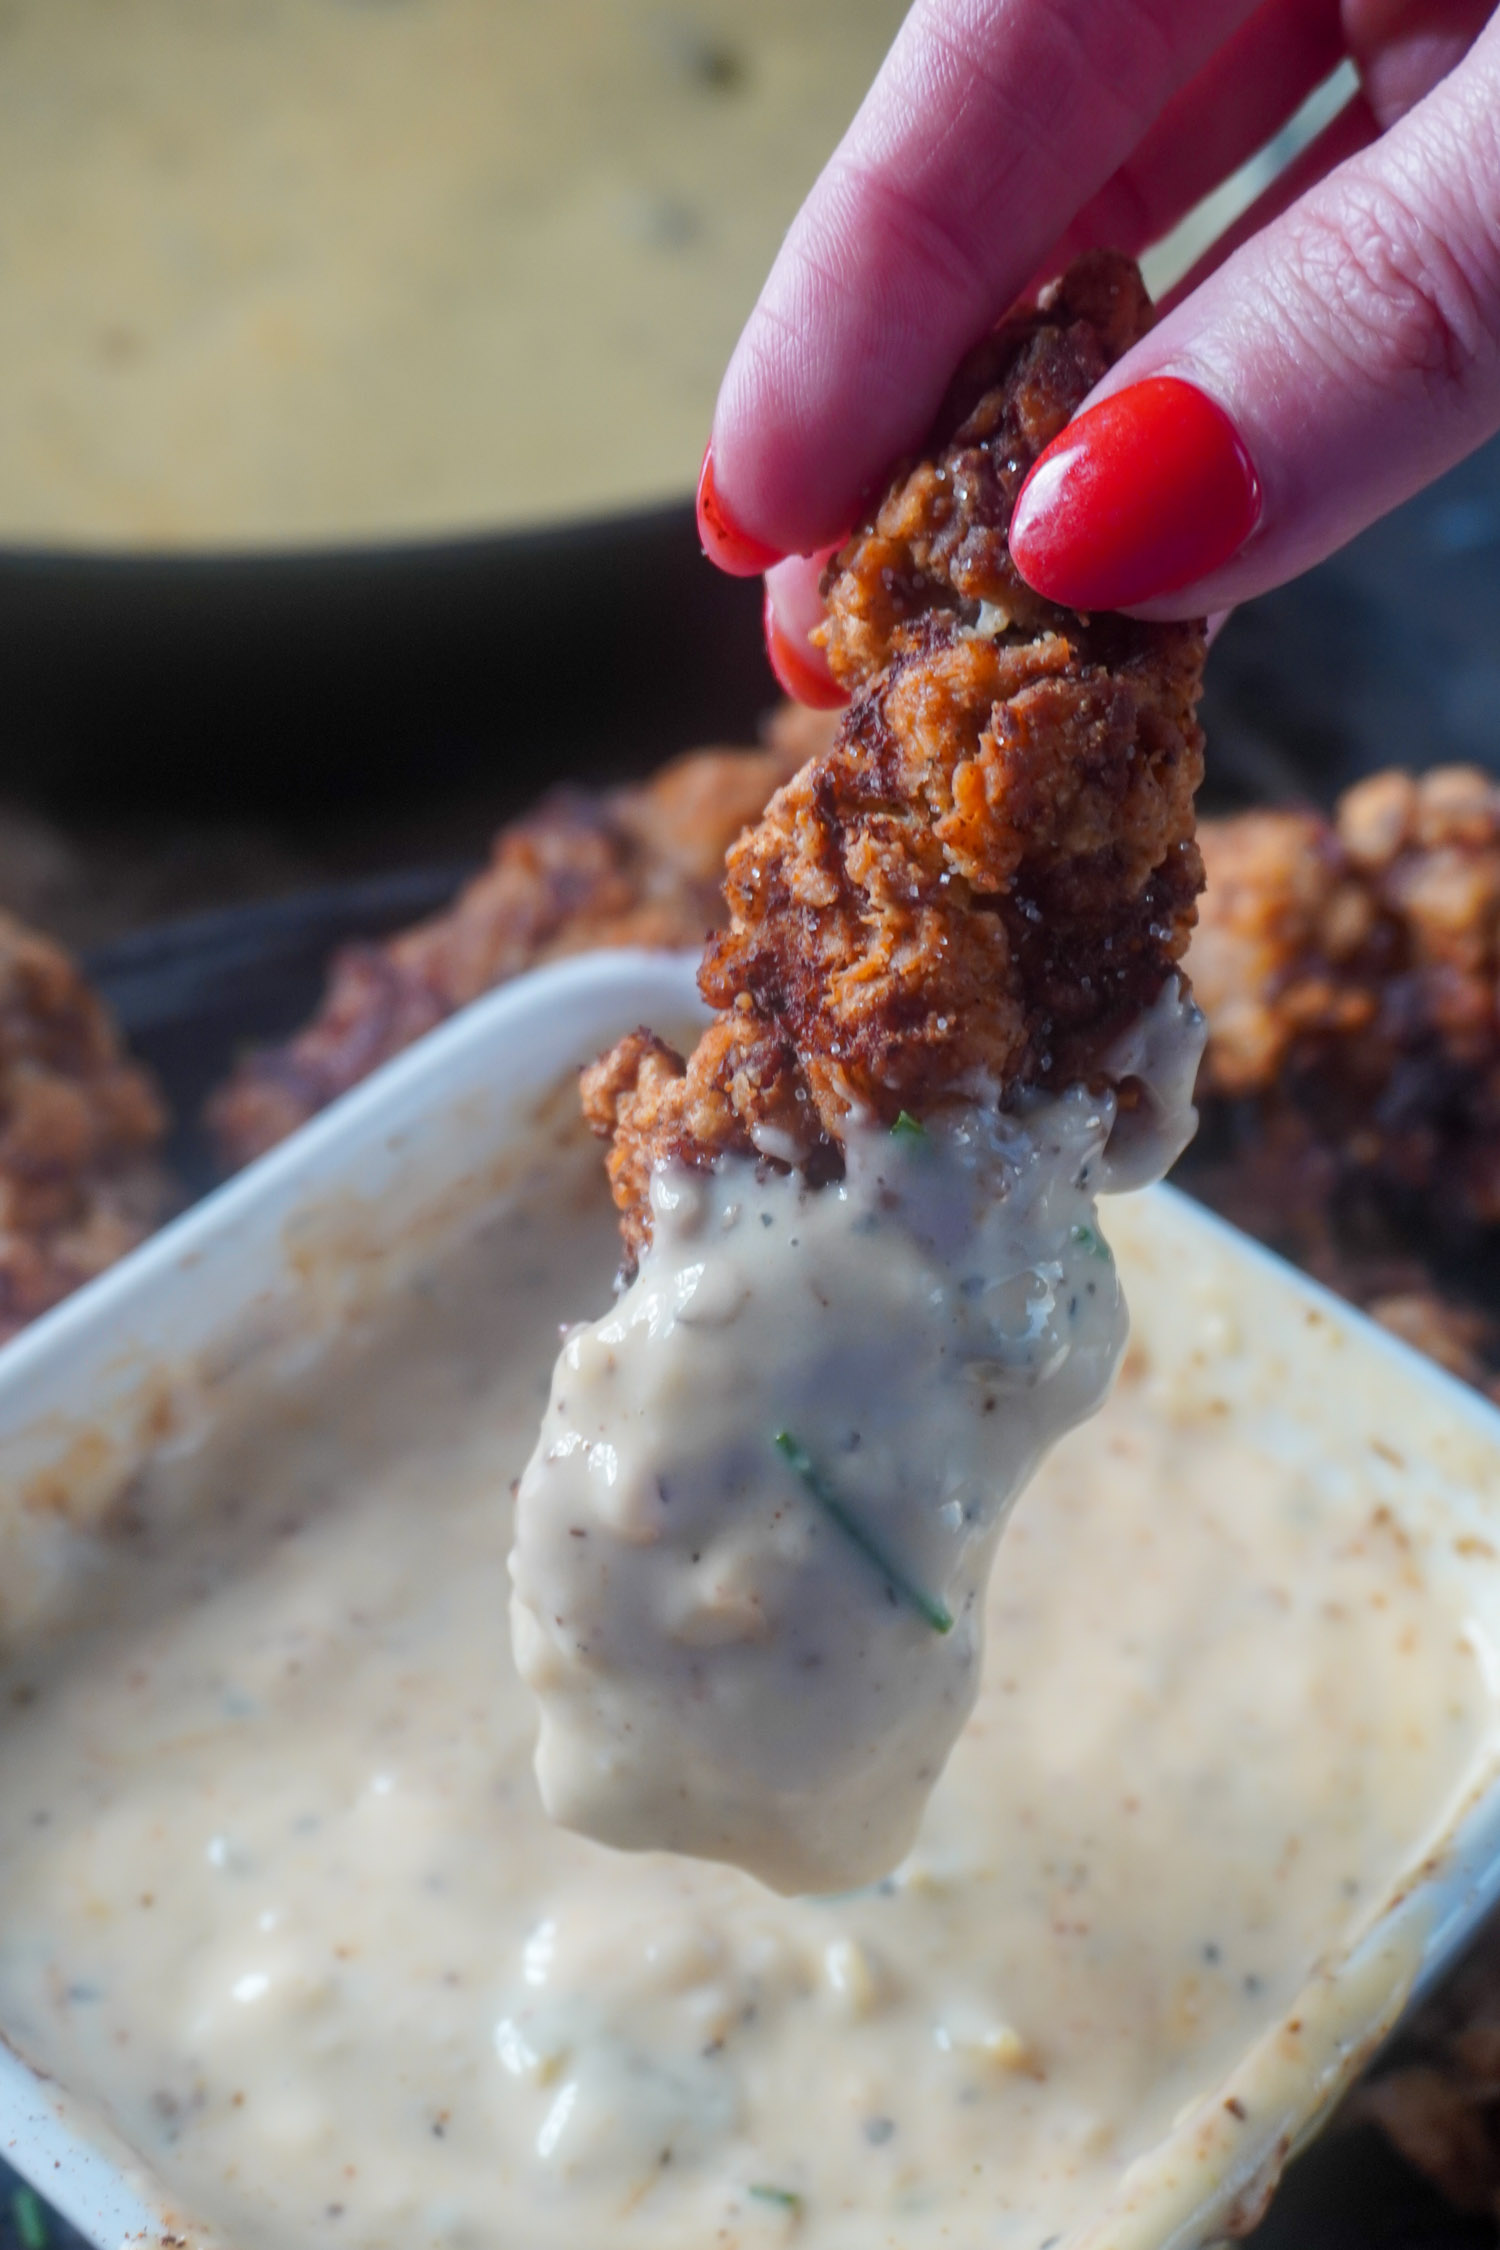
These golden brown steak strips with a crispy-crunchy coating have some of the best flavor around, and they make for the perfect comfort food (especially they are dunked into a pool of peppery cream gravy!).
Just like their big brother, the legendary chicken-fried steak, chicken-fried steak fingers trace their roots all the way back to German and Austrian immigrants that brought wieners schnitzel (thin veal cutlets breaded and fried crispy) to Texas in the 1800s.
How Southern Kitchens Made Steak Fingers
Texans adjusted the recipe and swapped in tougher cuts of beef, pounding them thin, and frying them in a crispy coating. Always served with a rich creamy gravy, the crispy chicken fried steak became a staple in town cafes, truck stops, and school lunchrooms. Texas now boasts an official 'Chicken Fried Steak Day' on October 26th to celebrate our adoration for this dish, approved by the state legislature in 2011!
This simple recipe evolved into the bite-sized steak fingers we have today that are perfect for dipping in rich, creamy, country gravy.

Best Steak Fingers Recipe (And The Perfect White Gravy)
This crispy, golden-fried Texas classic is quick and simple to make, and PACKED with extra flavor. Here's how we do it right!
At a Glance:
- Prep the Steak
- Use cube steak (pre-tenderized) or round steak (pounded thin with a meat mallet)
- Slice into finger-sized strips (about 1-inch strips wide by 3-4 inch strips long)
- Season the steaks with salt, black pepper, and garlic powder. For an extra kick, you can add in some Cajun seasoning
- Set Up the Breading Station
You'll need three bowls for coating the strips in a single layer of each- Flour Mixture (dry ingredients) - All-purpose flour, salt, pepper, paprika, and garlic powder
- Egg Wash (wet ingredients) - Eggs and buttermilk mixture (buttermilk will help the steak stay extra tender)
- Final Flour Coating (Breading Mixture) - Another layer of seasoned flour for a little extra crunch
- Fry Until Golden & Crispy
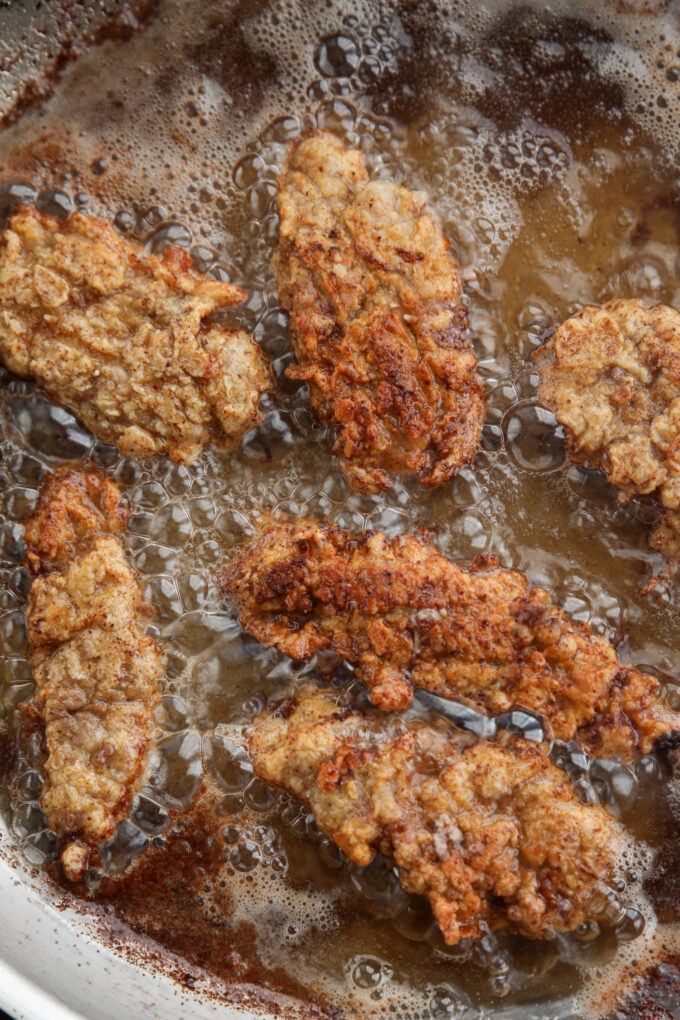
- Heat about 1/2 inch of hot oil (vegetable oil or peanut oil) in a cast-iron skillet to 350°F
- Fry the steak fingers in batches, about 2-3 minutes per side, until crispy golden brown. Refill the skillet with enough oil as needed
- Drain on a wire rack or a paper towel-lined plate to keep them crispy and salt them immediately while they are still hot!
- Make the Creamy Gravy
- Drain most of the oil from the pan, leaving about 2 tablespoons of drippings
- Stir in ¼ cup of flour, whisking for 1-2 minutes until lightly golden
- Slowly add 2 cups of milk (canned evaporated milk recommended), stirring constantly to prevent lumps
- Season with salt, black pepper, and a pinch of hot pepper sauce for a little acidity
- Simmer until thickened, about 4-6 minutes
- Serve & Enjoy!
- Plate up the steak fingers and drench (or simply dip) in the creamy gravy
- Serve with mashed potatoes, french fries, Texas toast, or green beans
- Make sure to eat it while it's still HOT!

Tips & Substitutions for an Easy Steak Fingers Recipe
Tips for the Best Steak Fingers
- Choose the Right Cut of Meat
- Cube steak is the best option for most busy people, since it's already tenderized
- Round steak or sirloin works too - just pound it thin with a meat mallet before slicing
- Double Coat for Extra Crunch
- Coat the steak strips using a shallow bowl for the Flour Mixture, then the Egg Wash, then the flour mixture again for a thick and crisp crust
- Let the breaded steak finger rest for 5-10 minutes before frying (this helps the coating stick!)
- Use Buttermilk for Tenderness
- Soak the steak fingers in buttermilk for at least 30 minutes before breading for extra flavor and tenderness
- No Buttermilk? Mix milk + 1 tablespoon of vinegar or lemon juice as a substitute
- Keep your Oil Hot
- Heat oil to 350°F (medium heat) before frying
- If the oil is too cool, the breading gets soggy
- If too hot, the coating burns before the meat is cooked
- Heat oil to 350°F (medium heat) before frying
- Drain Strips on a Wire Rack
- Instead of paper towels, place your fried steak fingers on a wire rack over a baking sheet (so that the oil drains off) to keep them extra crispy
Substitutions for Steak Fingers and Gravy
- Meat Substitutions
- Chicken Fingers - Swap steak for chicken tenders for a Texas-style chicken-friend chicken twist
- Pork Steak Fingers - Use thin-cut pork chops for a delicious alternative
- Country Fried Mushrooms - Coat portobello strips for a vegetarian option
- Breading Substitutions
- Crushed Saltine Crackers or Panko for extra crunch
- Cornmeal-Flour Mix for a Southern-style coating
- Gluten-Free Flour for a gluten-free version
- Creamy Gravy Upgrades
- Add crumbled bacon, roasted green chiles, or a splash of hot sauce, in the gravy for extra flavor
- Use canned evaporated milk instead of milk for super rich gravy
- Swap whole milk for half-and-half for a thicker consistency
- Spicy Kick Options
- Mix cayenne pepper, smoked paprika, or Cajun seasoning into the flour
- Serve with jalapeño ranch or hot honey drizzle for a modern twist
Storing Leftover Steak Fingers and Creamy Gravy
- Refrigerating Steak Fingers (Best for 2-3 Days)
- Let them cool completely (to prevent sogginess) before storing
- Place in an airtight container or a paper towel-lined container to absorb excess moisture
- Store in the fridge for up to 3 days
- Freezing Steak Fingers (Best for 1-2 Months)
- Freeze on a baking sheet first so the strips don't stick together
- Once frozen, transfer to a Zip Top freezer bag or airtight container
- Label with the date, and freeze for up to 2 months maximum
- Refrigerating Creamy Gravy (Best for 3 Days)
- Let the gravy cool completely before storing
- Pour into an airtight container and keep in the fridge for up to 3 days
- We do not recommend freezing the creamy gravy (cream based sauces tend to separate when frozen)

Steak Fingers and Creamy Gravy
Equipment
- 1 cast iron skillet or large dutch oven
Ingredients
- 4-6 Cube Steak (also called Round Steak)
- 1 Quart Favorite Cooking Oil (you won't use it all)
Breading
- 2 Cups Flour
- 1/4 Cup Cornstarch
- 1 Teaspoon Onion Powder
- 1 Teaspoon Garlic Powder
- 1 Teaspoon Black Pepper
- 1 Teaspoon Seasoning Salt
Wet Ingredients
- 2 Eggs
- 1/2 Cup of Buttermilk or Milk
- 2-4 Tablespoons Louisiana Style Hot Sauce
Creamy Gravy Ingredients
- 4 Tablespoons Butter or Meat Drippings
- 1/4 C Flour
- 2 cans Evaporated Milk
- 1 Teaspoon Salt
- 1 Teaspoon Pepper
- 1 Teaspoon Garlic Powder
- Dash of Lemon Juice or Louisiana Hot Sauce for brightness
Optional Add-Ins
- 4 oz Can Roasted Green Chilies
Instructions
Directions
- Cut the steaks into 1 inch thick by 3 to 4 inch long strips.
- Cube steak is already tenderized with a machine and will have indentions to tenderize it. Round steak (or any other cut) will need to be beaten out with a kitchen mallet or rolling pin between plastic wrap or wax paper.
To set up the breading station
- You will need 2 shallow bowls or plates for this step.
- Glass half casserole dishes always work well.
- In the first vessel will be the seasoned flour.
- In the second, place the egg and milk mixture. Beat well.
To begin cooking:
- Season the raw steak strips well with seasoning salt and pepper.
- Dip meat pieces into the flour mixture, then into the egg mixture, then back into the flour mix. Place each one on a baking sheet as you get done.
- Transfer the baking sheet into the refrigerator for 20 minutes to let the breading adhere.
Frying the Steak Fingers
- In a skillet in hot oil, bring the oil to 350°, cook steak fingers on both sides (2-4 minutes each side) until golden brown. Remove from the pan and place on cookie sheets to drain.
- Salt immediately and serve hot with Creamy Gravy.
Creamy Gravy Directions:
- In a skillet, start with 4 tablespoons of butter or 4 tablespoons of meat drippings, whisk in 4 tablespoons of flour to create a roux.
- Add 1 can of evaporated milk, whisking well to incorporate the milk into the roux and prevent lumps. Then begin to add the second can.
- Bring to a simmer, always whisking well so the bottom doesn't burn. (You can also switch to a spatula at this point if that is easier to stir the gravy). The gravy will begin to thicken as the mixture approaches the boiling point.
- You don't have to use the entire second can of evaporated milk if you want a very thick gravy, you can just judge as you go and use the leftover second can of evaporated milk to thin the gravy as needed.
- Season liberally with salt, pepper, garlic powder, and a dash of hot sauce, or a squeeze of lemon juice for acidity.

Alex says
Made these steak fingers for the family last night and they were a total hit, even the picky eaters cleaned their plates and that creamy gravy was next-level good.
Lane says
I made the steak fingers and gravy and they were awesome. The breading was crispy and the meat was really tender. The creamy gravy was my favorite part and it went perfectly with the steak fingers.
Linda says
There aren't enough truly homemade recipes out there like this. Going old school and making things from scratch is definitely where it's at!
Charles says
Dairy Queen is so nostalgic to me and my wife! She loved the steak fingers and can't wait to make these! I should mention that she's loved all of your recipes she's tried so far. The brisket chili is a family favorite.