Are you one of many people playing the guessing game when trying to cook chicken on a charcoal grill? Don’t be embarrassed, you're not alone.
We act like grilled chicken is easy, and its popularity would certainly make you think so, but the fact is that no one actually takes you out back and shows you exactly how it all works.
But, that's exactly what I am here to do.
I've been a chef for over a decade and grilling chicken is problematic and confusing due to the many variables involved.
How much charcoal should you be using? How long should you wait before the charcoal is ready?
Not to mention that the many different cuts of chicken available all have different cook times-- and what visual cues let you know that they are ready to come off the grill?
Charcoal grilling is special because the intensity of flavor goes beyond what a gas grill can do.
It’s smoky, fire-kissed food that’s delicious on a primal level and this guide will answer all the questions you may have on how to master grilled chicken.
How To Build A Charcoal Fire In The Grill (Properly)
The first step to mastering grilled chicken is to understand how to work with charcoal and what visual cues let you know when your grill is ready for grilling.
STEP ONE: Buy good quality charcoal, lighter fluid, and a long-stemmed lighter.
Some people (including me) use a charcoal chimney to hold the charcoal close together so all the coals burn at the same rate. The hot coals may then be poured out across the grill.
You can add an additional layer of coal atop the first layer of burning coal if you're cooking multiple courses or cooking for a large barbecue with lots of attendees. The first layer which is already burning will catch the second layer on fire over 10-15 minutes, giving you a longer amount of time to grill.
STEP TWO: Pour the charcoal into the charcoal chimney or in a mound in the center of the grill.
Follow the charcoal manufacturer's instructions for using lighter fluid or lighting their charcoal as recommended. The charcoal will start to burn but may take some time to get reliably burning where you know it won't go out.
The charcoal needs to be in this consistent burning stage for 3-5 minutes before pouring it out into the charcoal grill. (Pour down another layer of charcoal over this layer if you think you'll need it.) Place the grill grate back on the charcoal grill. Do not place the lid on the grill at any time while the charcoal is getting hot.
STEP THREE: Wait until the charcoal goes ashen or white to start cooking. (Some new types of acacia wood charcoal burn orange-red when ready.)
Most people start grilling before the charcoal is smoldering nicely. It should be white hot but there shouldn't be a large, active fire. Use this opportunity to clean the grill grates with a brush.
STEP FOUR: Cook! The charcoal is ready when your hand can be held over the grill for 2 seconds without pulling it away.
Expert tips for preparing your grill for grilling:
● Consider wood chips: If you want to use wood chips as you’re grilling, you’ll need to prepare them. For best results, soak the wood chips in water for about 30 minutes before starting the charcoal. That will help them to smoke more. Add your wood chips to charcoal when the charcoals are ashy and ready to go.
● Preheat the grill: Never put your chicken on a cold or warm grill. Preheat your grill for at least 15 minutes before putting any chicken on it.
● Use a charcoal chimney: If you’ve never invested in a charcoal chimney, you may want to. A charcoal chimney makes it easier to get your coals started without the use of lighter fluid. The coals get going in the chimney, and once they’re good and hot you pour them into the bottom of your grill. And just like that, you’re almost ready to grill. If you don’t have a charcoal chimney, heat your coals the old-fashion way; it’ll still get hot.
● Use a grill brush to scrub your grill: This is important because you don’t want flavor or old debris from some other type of meat on your chicken.
● Create temperature zones: You may not need all of your chicken to grill at the same temperature for the duration of the cooking, so temperature zones can help with that. To create different zones of heat, you’ll have coals placed on one or both sides of the grill for direct heat, with an empty space on the other side or in the middle for indirect heat. Now, you can move your chicken around as you need to so that it cooks evenly and does not burn too much on the outside before it’s cooked on the inside.
Indirect grilling is useful when the chicken is already seared well. We move to an area without hot coals, place the lid on the grill, and essentially roast or bake the chicken like in an oven.
When Is a Charcoal Grill Ready for Grilling?
From here, it’s just a matter of knowing when to place your chicken on the grill and every chef I know uses the hand test trick. Let me teach you!
What Is The Hand Test for Grilling?
Not everyone has access to a grilling thermometer when they’re grilling chicken on the charcoal grill. The hand test for grilling lets you know approximately how hot the fire is...
● Hold your hand about three inches above the grill cooking area.
● Count the number of seconds you can keep your hand there without moving it before the heat becomes too hot. Depending on the number of seconds you keep your hand there, this is the translation:
○ Less than 2 seconds makes the temperature at about 450 degrees (high)
○ 2-3 seconds makes the temperature at about 400 to 450 degrees (medium-high)
○ 4-5 seconds makes the temperature at about 350 degrees (medium heat)
○ 6-7 seconds makes the temperature at about 300-350 degrees (medium-low)
○ 7-9 seconds makes the temperature at about 250-300 degrees (low)
2 seconds of holding your hand over the hot coals is the right temperature for grilling.
If it's too hot, wait for the fire to go down a bit. If it's too cold, you'll need to carefully remove the grill rack with oven mitts and add more charcoal.
Easy Flavoring Ideas For Charcoal Grilled Chicken
I have a philosophy on grilled chicken recipes: you have everything you need in a semi-stocked pantry to pull this off without any fancy recipes.
In my catering company, we place all the chicken in a large metal bowl, pour in any of the high smoke point oils I listed above (enough to coat all the chicken well), and then we add cajun seasoning...like A LOT.
You can replicate this with any of the seasonings in your pantry that you've bought for other cooking projects. You don't have to measure just coat the chicken well, maybe a bit more than you think you need.
Here is a dry rub list for grilled chicken:
- Kosher Salt, Black Pepper, Garlic Powder, Onion Powder
- Cajun or Blackening Seasoning (no additional salt needed)
- Italian or Green Seasoning with Onion Powder and Garlic Powder
- Salt with Sage, Thyme, Savory, or Rosemary
- Barbecue Rubs (and then glaze with bbq sauce)
- Chili Powder, Smoked Paprika (for smoky flavor), Cumin for Southwestern Flavors, a Dash of Cayenne for Spicy
- A package of dry dressing mix like Ranch or Caesar
I prefer a spice rub to a marinade but that's just personal preference!
Here are some good marinade options that you likely already have:
- Bottled Italian or vinaigrette dressings. (Honestly, my favorite way to get rid of nearly empty bottles of salad dressing.)
- Fresh herbs like parsley, chives, rosemary, thyme, sage, chervil, green onion, basil, cilantro
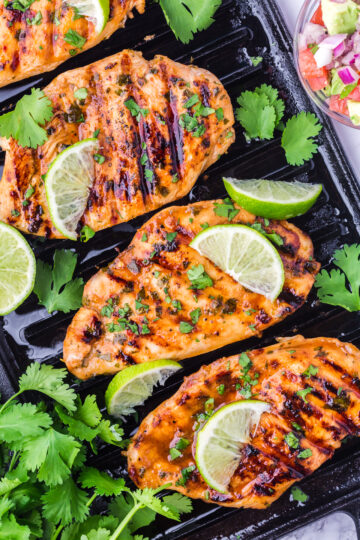
- Lime or Lemon Juice, Pineapple Juice
- 3 Tablespoons oil to bring it all together
Grilling Chicken Breasts
When you know your grill is ready, you can place your chicken on the grill but first, it’s a good idea to apply a coat of oil to the grill grates. This will help keep your chicken from sticking. (By the way, this is a good practice with anything you want to grill.)
To do this, using tongs pick up a ball of paper towel coated with a high smoke point oil (not olive oil, avocado, coconut, or canola oil is good) and wipe the grill grates with a thin coating of oil.
Note: You can also marinate your chicken before grilling for amazing flavor and interest. (Here is our favorite recipe for fajita marinade that makes the best chicken.) This step may not be necessary if the chicken has been marinated in an oil-based marinade, or if the chicken recipe consists of a dry rub held on by a coat of oil.
It doesn't hurt to grease the grill grates anyway. The cooking grate will never stick to the chicken if both are well oiled.
Tips For Working With Different Cuts Of Chicken
Butterflying Chicken Breasts:
Boneless, skinless chicken breasts have become bigger and thicker each passing year.
Some of these breasts are 2 1/2 inches thick which is shockingly the same thickness as a special occasion steak. It's hard to cook chicken this thick properly.
For this reason, I recommend butterflying the chicken. It doesn't change the flavor or tenderness, and may actually result in a juicier piece of grilled chicken because you won't have to overcook the outside (which can become rubbery) to get the inside to the recommended internal temperature of 165 degrees.
The process looks like this...
Slice the large breast vertically up one edge, stopping halfway through. Peel back the chicken like you are opening a book. It should be heart-shaped. Season as usual.
Whole Chicken:
There is a fancy word called spatchcocking a whole chicken which sounds very cheffy and intimidating, but it is so easy you'll be wondering why you haven't done it for years.
This allows a whole chicken to be cooked incredibly fast and the skin becomes wonderfully crispy. For this, you will need a pair of kitchen shears.
Place the whole bird on a cutting board in front of you with the tailbone facing up and the breasts facing down. Cut up on side of the tailbone from the tail to the neck. Now cut up the other side of the tailbone from tail to neck. Discard the tailbone or freeze it for making stock.
Flip the chicken breast side up and press it down. It will flatten out and you can now season and grill your whole chicken! Amazing!
Cooking Times For Various Cuts of Chicken
There are many cuts of chicken and they all grill at different rates due to fat density and whether or not they contain bones. Here is our research on each cut.
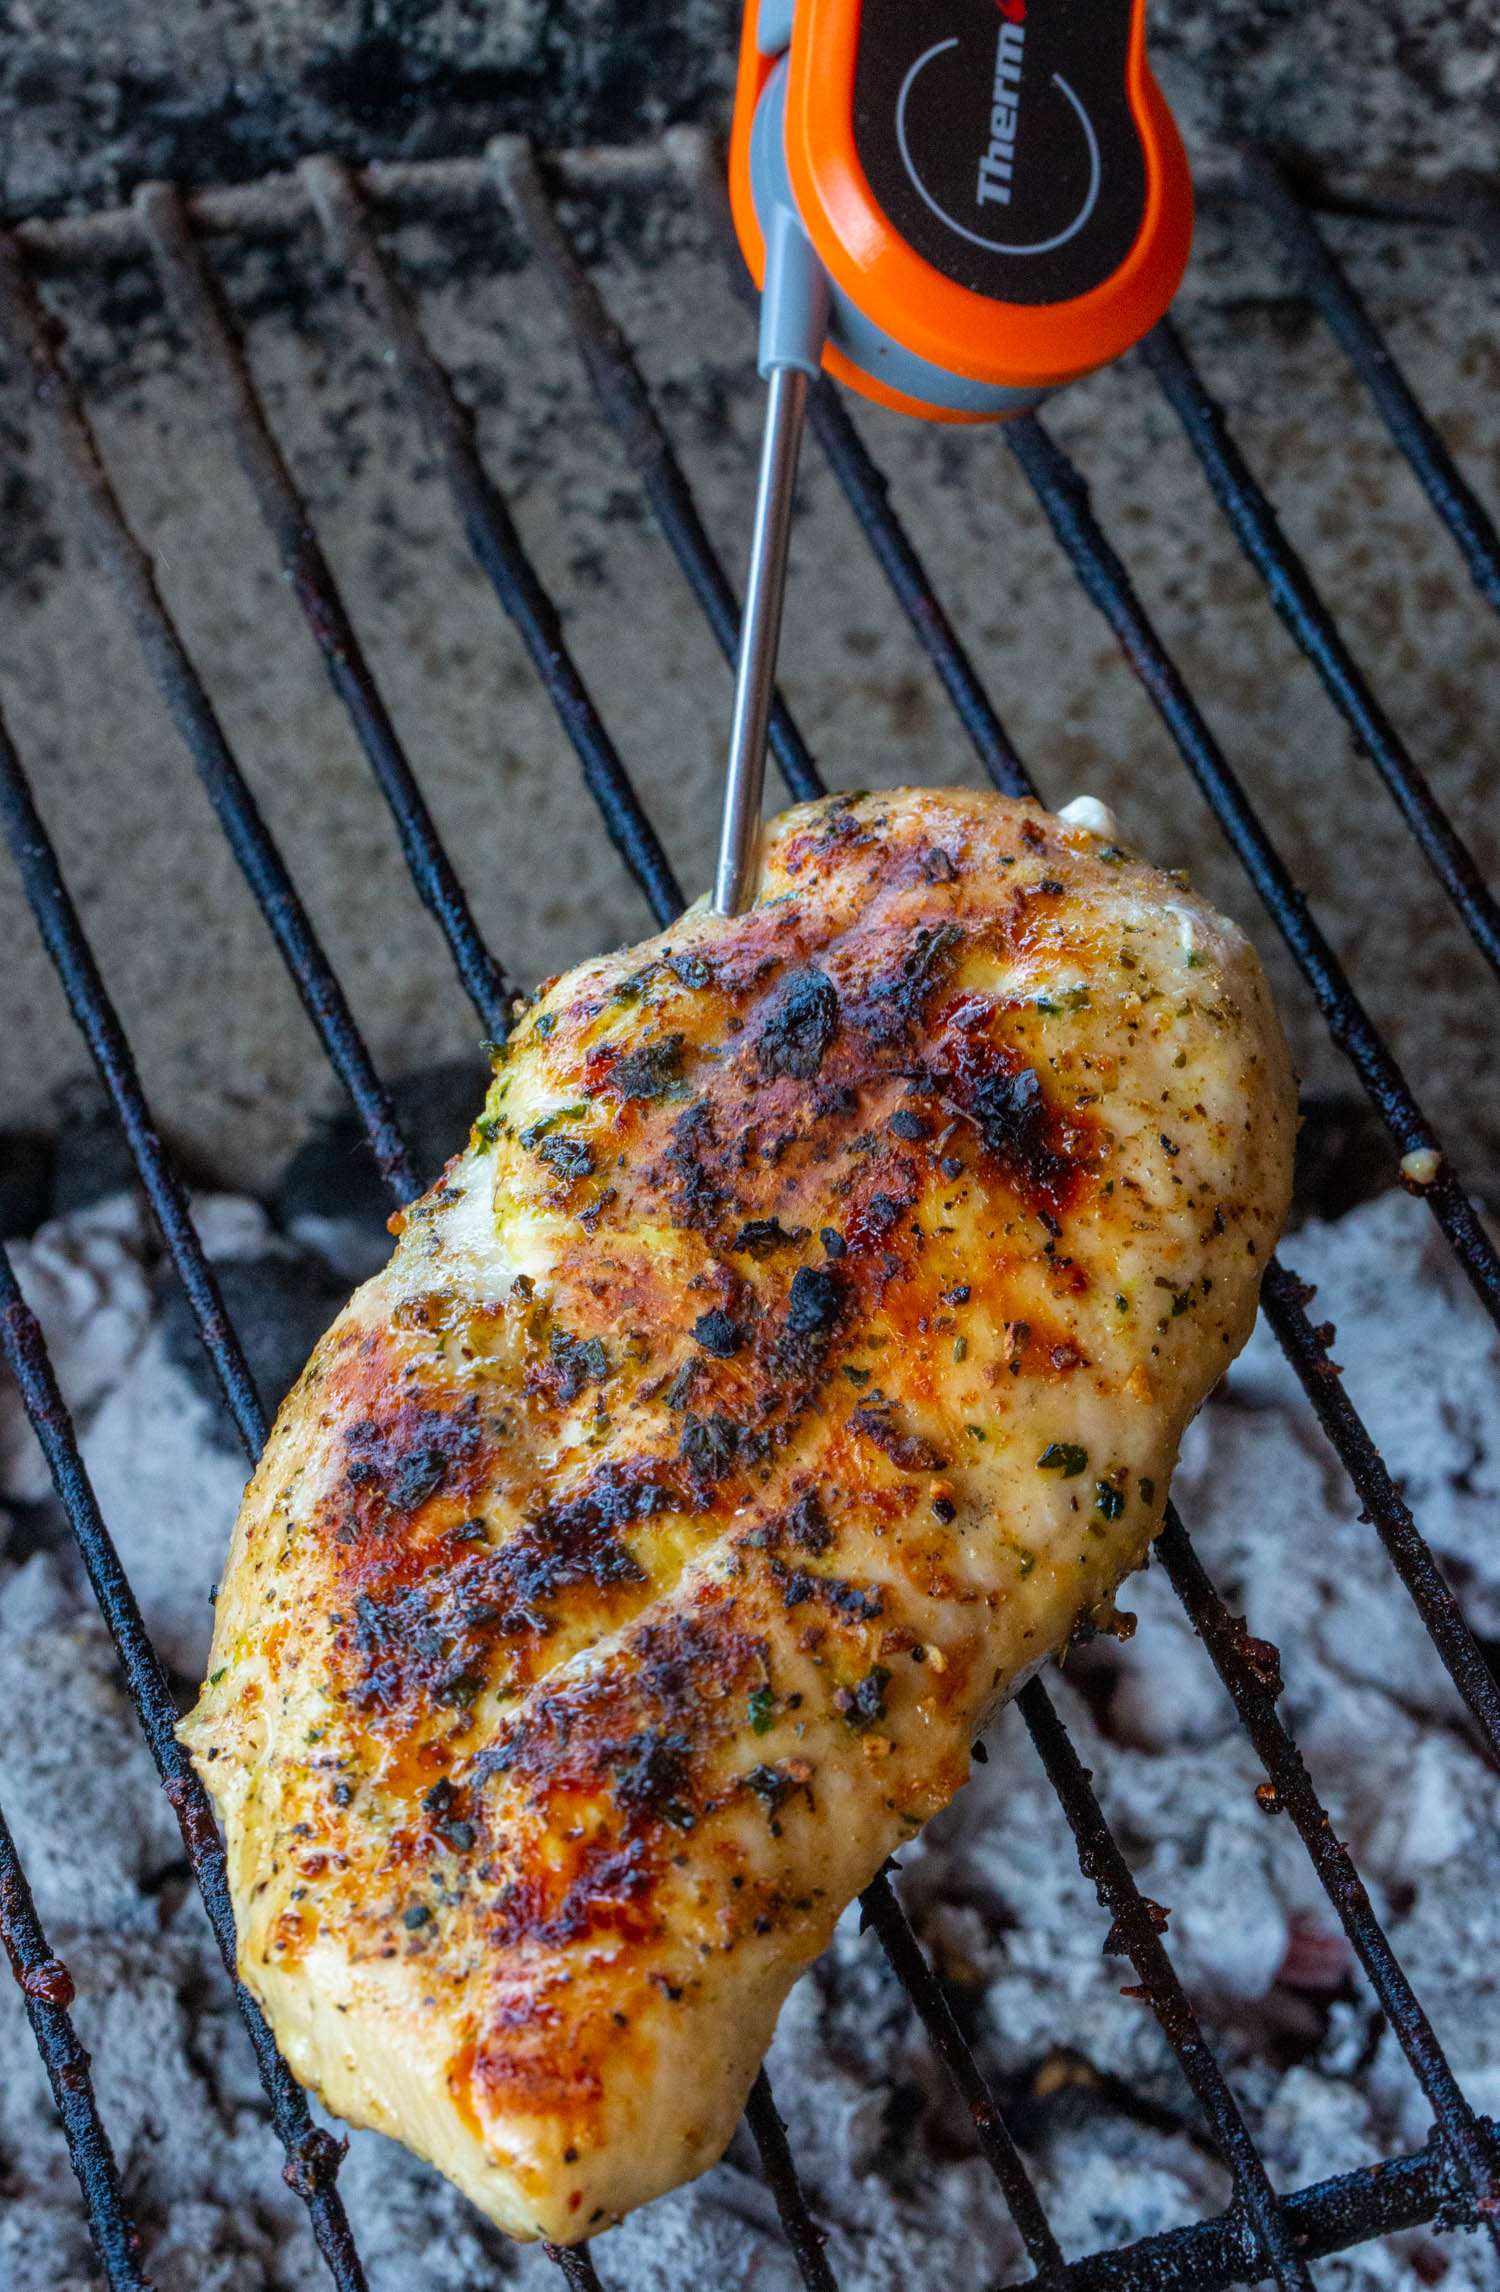
How Long To Grill Chicken Breasts on a Charcoal Grill
Boneless chicken breasts should be grilled at 350 degrees or the 2 second-hand test. Because a skinless breast is white meat, it will cook differently due to the lack of fat. We want to prevent rubbery chicken breasts so I generally avoid using the grill lid unless absolutely necessary.
For butterflied chicken breasts, using no lid, we recommend 6 minutes on one side, flipping and grilling for 5 minutes on the other side.
For thick chicken breast (without butterflying) we recommend 6 minutes on one side, move to indirect heat and grill for about 10 minutes on the other side. (Use the lid if you feel like your coals are getting cooler.)
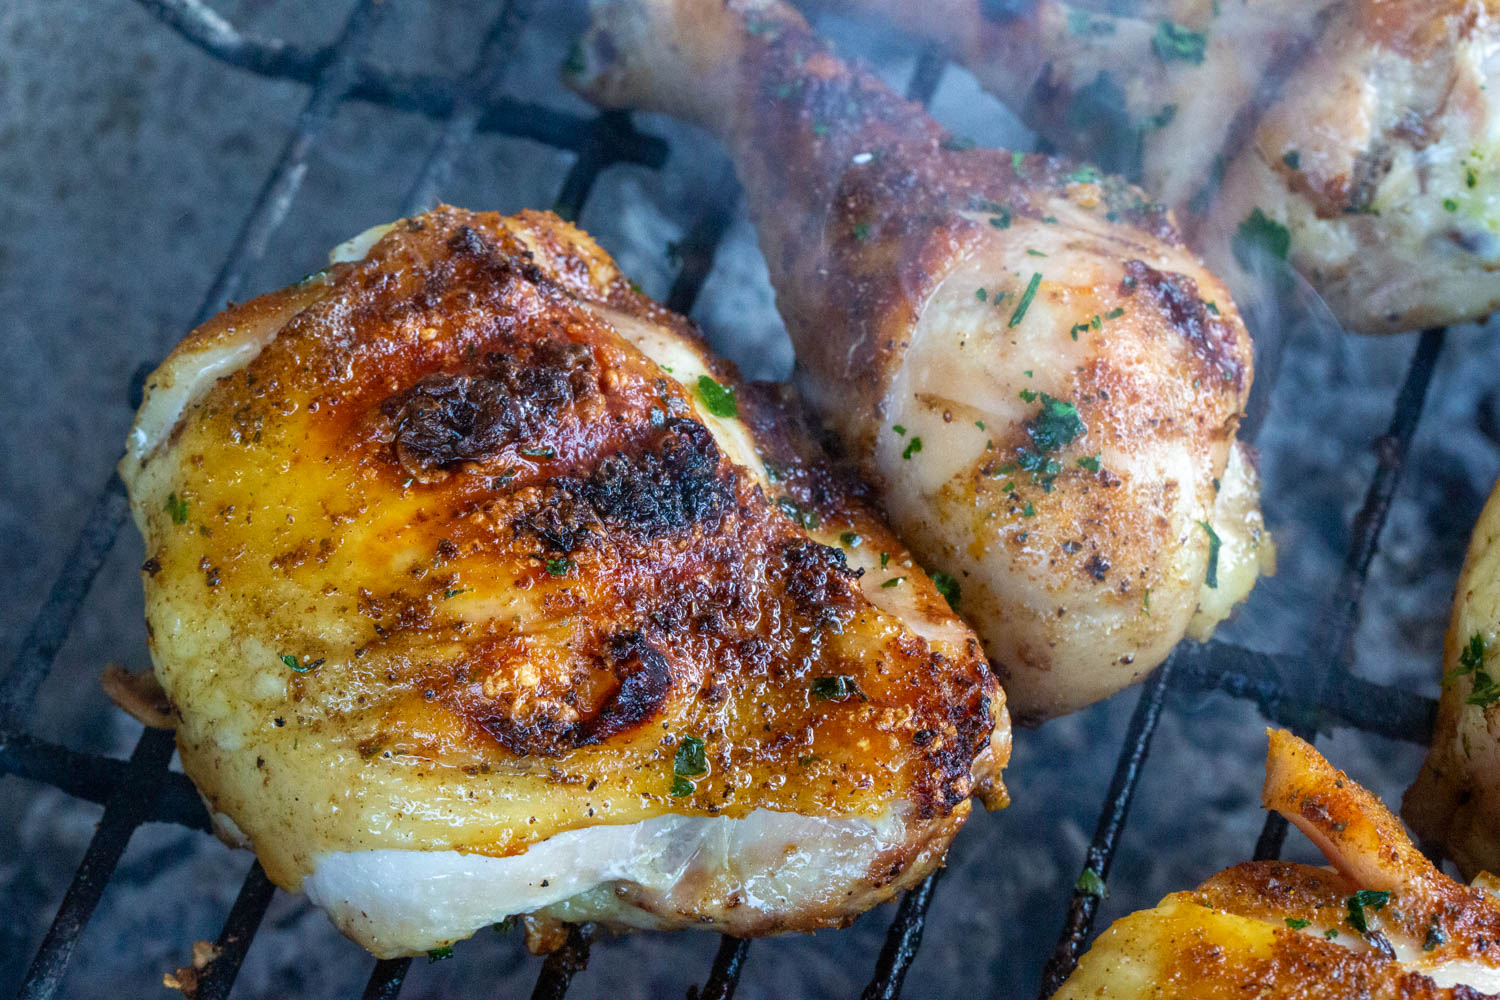
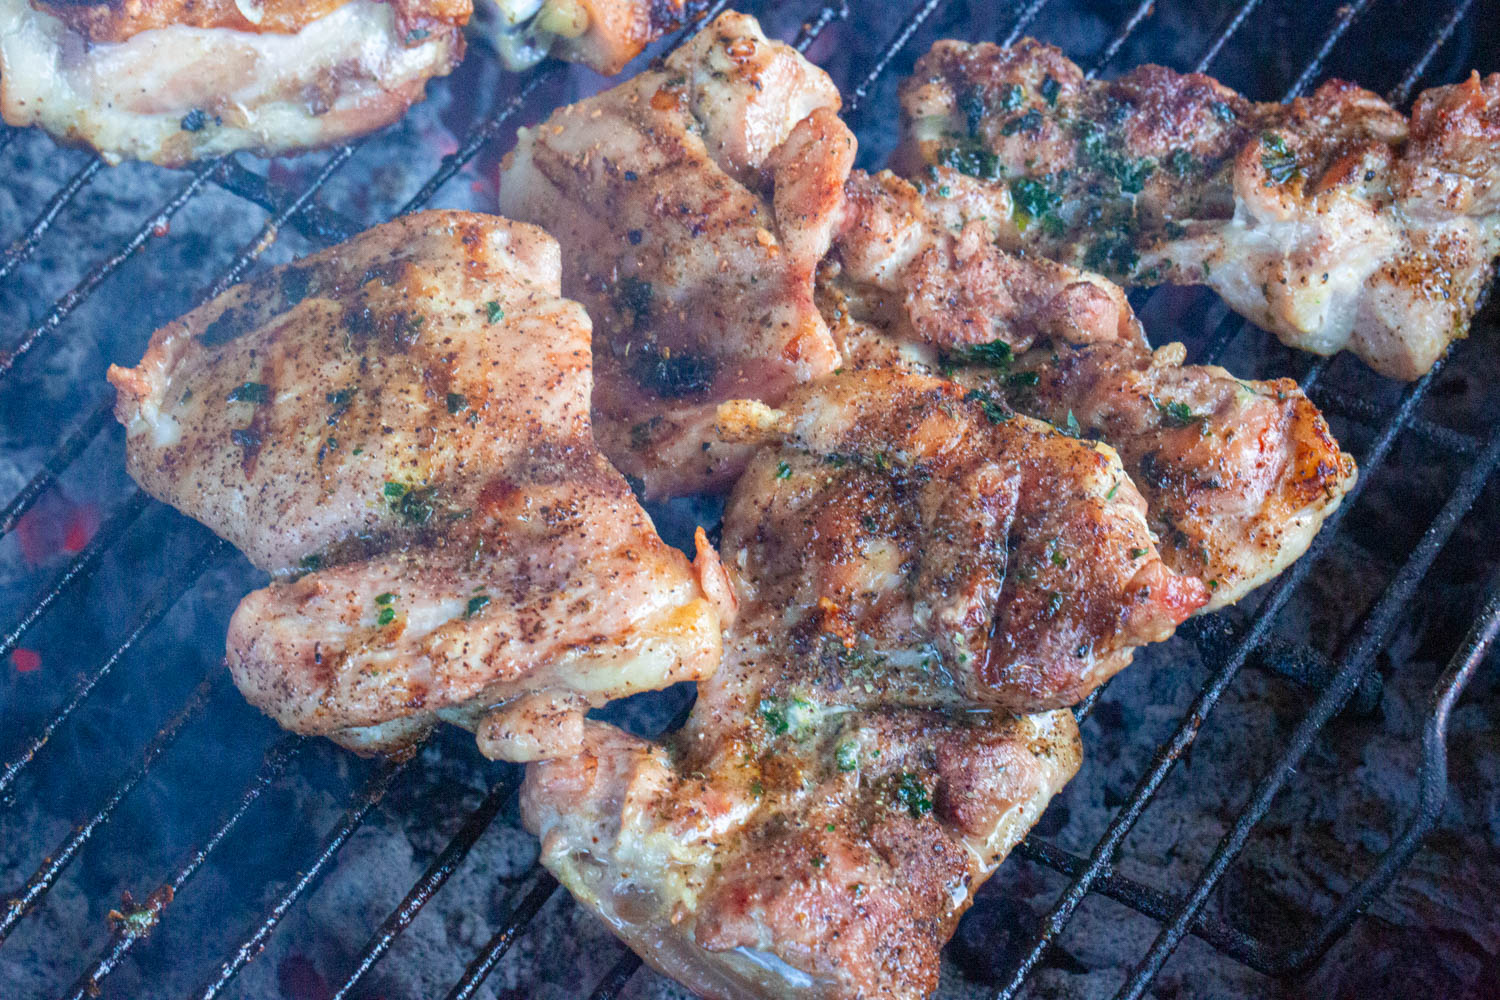
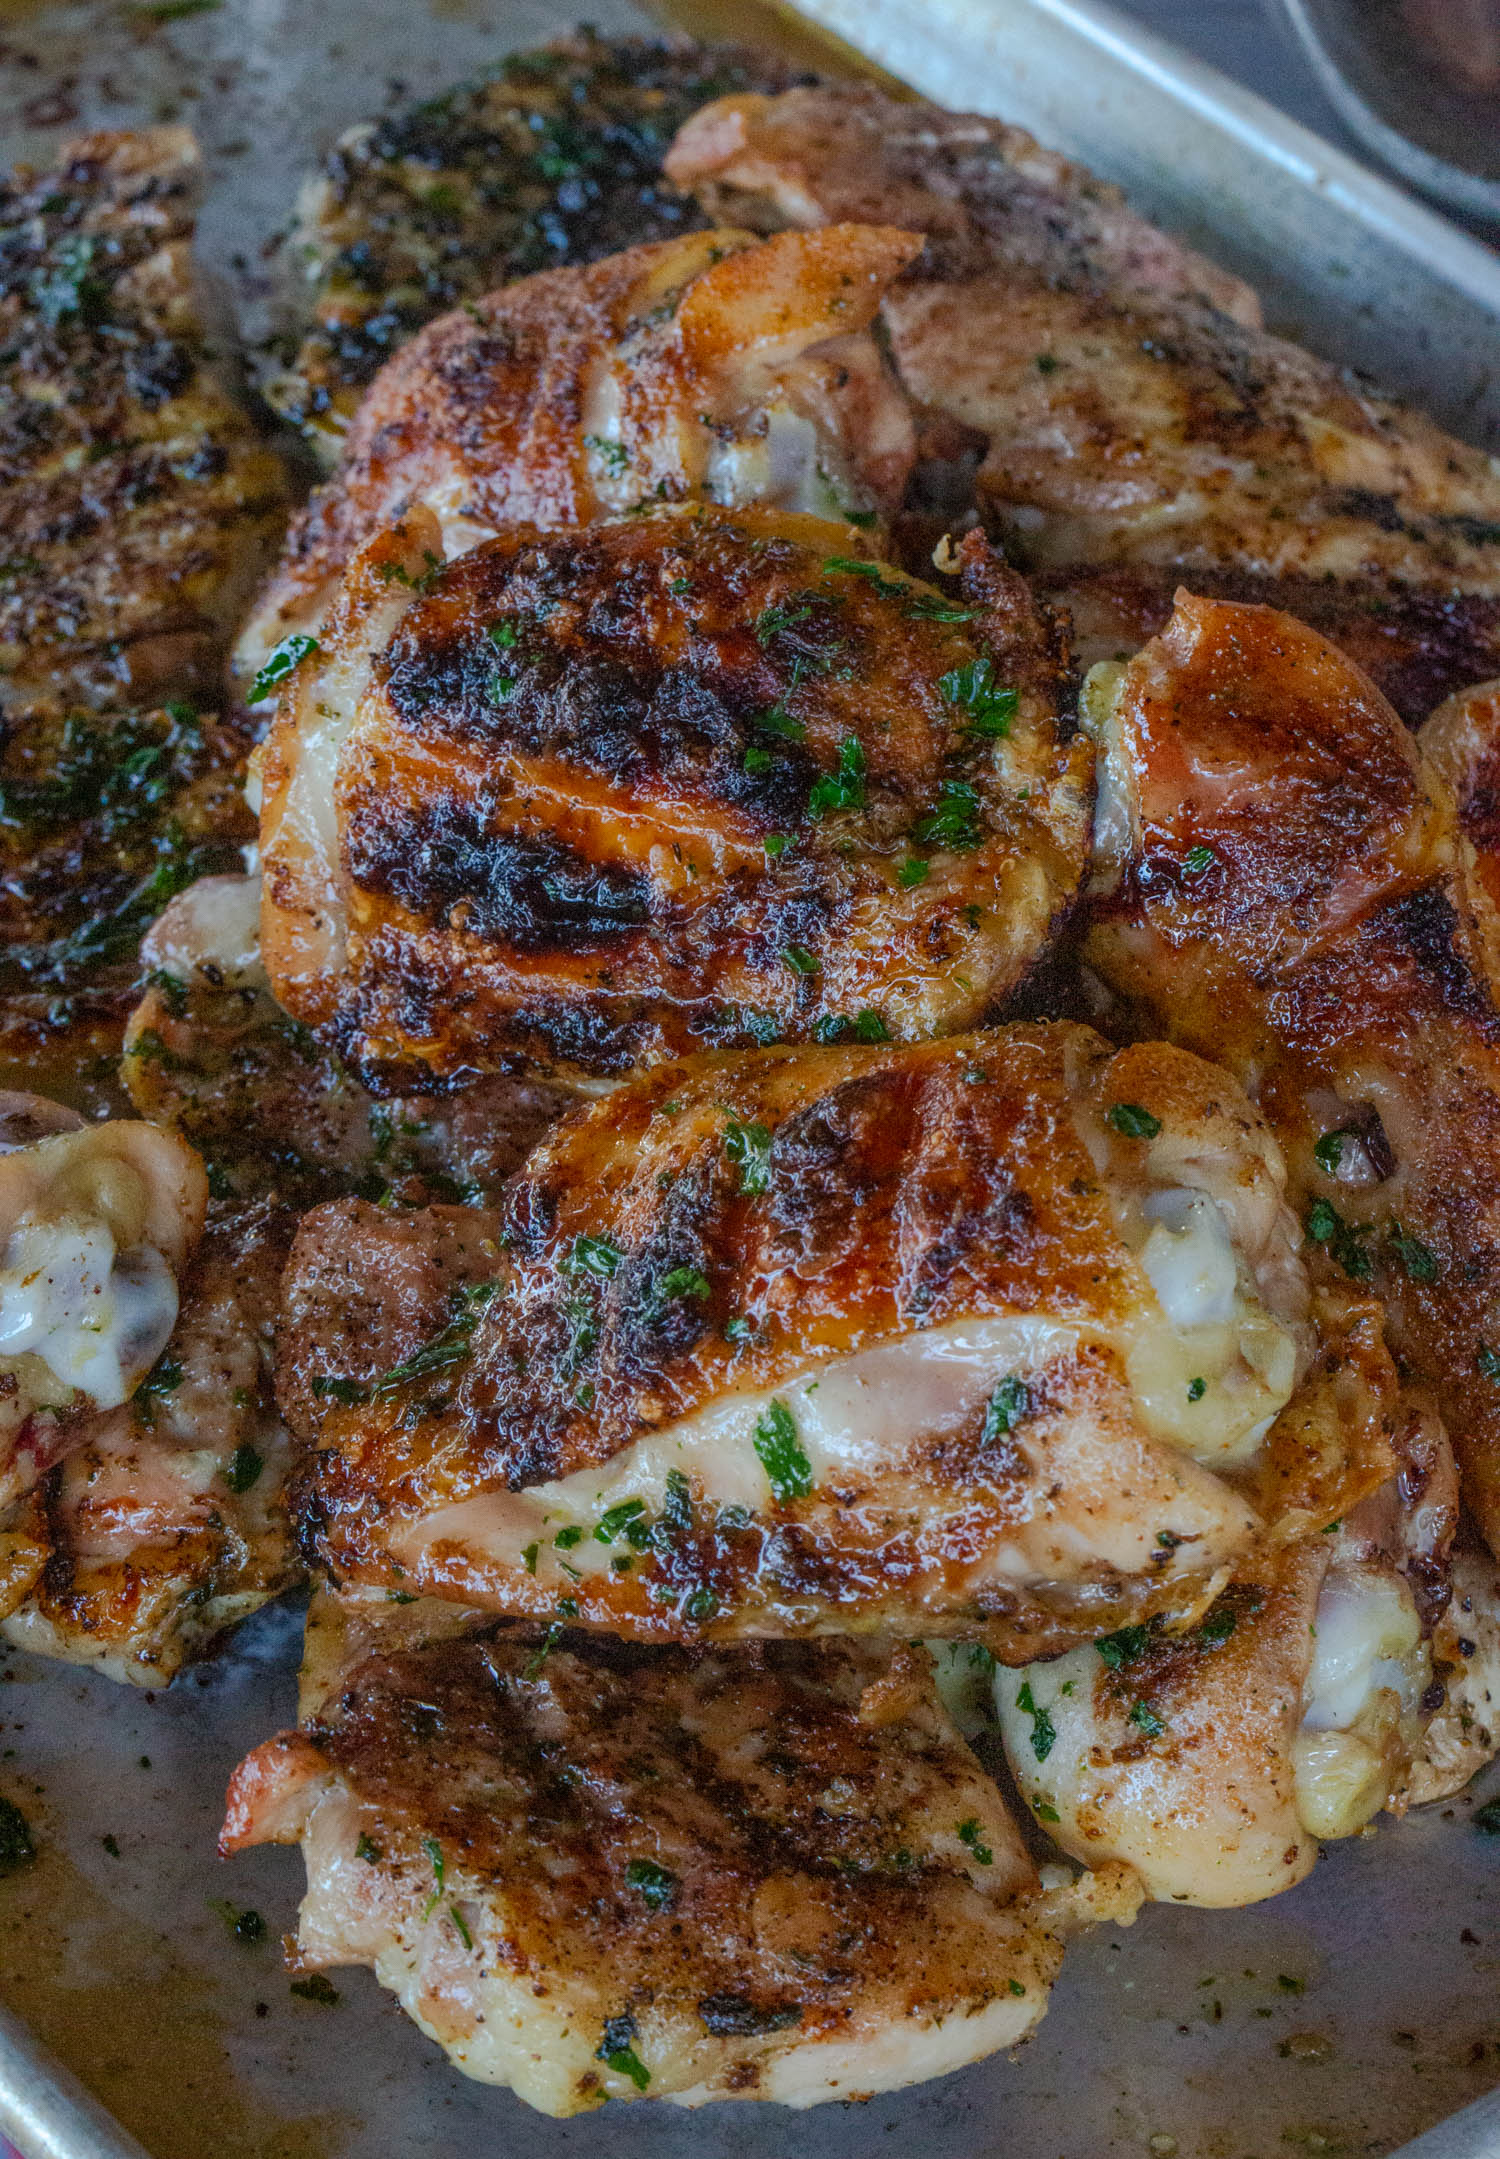
How Long To Grill Chicken Thighs
All bone-in meats require more time to cook than boneless.
We recommend grilling at 350 degrees or the 2 second-hand test for both boneless and bone-in chicken thighs. We use the lid as chicken thighs are made of dark meat and do not get rubbery.
Boneless Chicken Thighs: We recommend 5-6 minutes on each side, using the lid-on technique. If they have skin, start with skin side down.
Bone-In Chicken Thighs: We recommend 10 minutes on each side, transferring to indirect heat, placing the lid on, and grilling 15 minutes on the other side.
For bone-in chicken thighs, place the chicken pieces on the direct heat of the grill and allow them to cook there for about 10 minutes, on each side. Transfer them to the side of the grill with indirect heat and place the lid on the grill.
Allow them to cook there, covered, for about 10-15 minutes or until the temperature reaches 165 degrees, flipping again during the in-direct grilling portion.

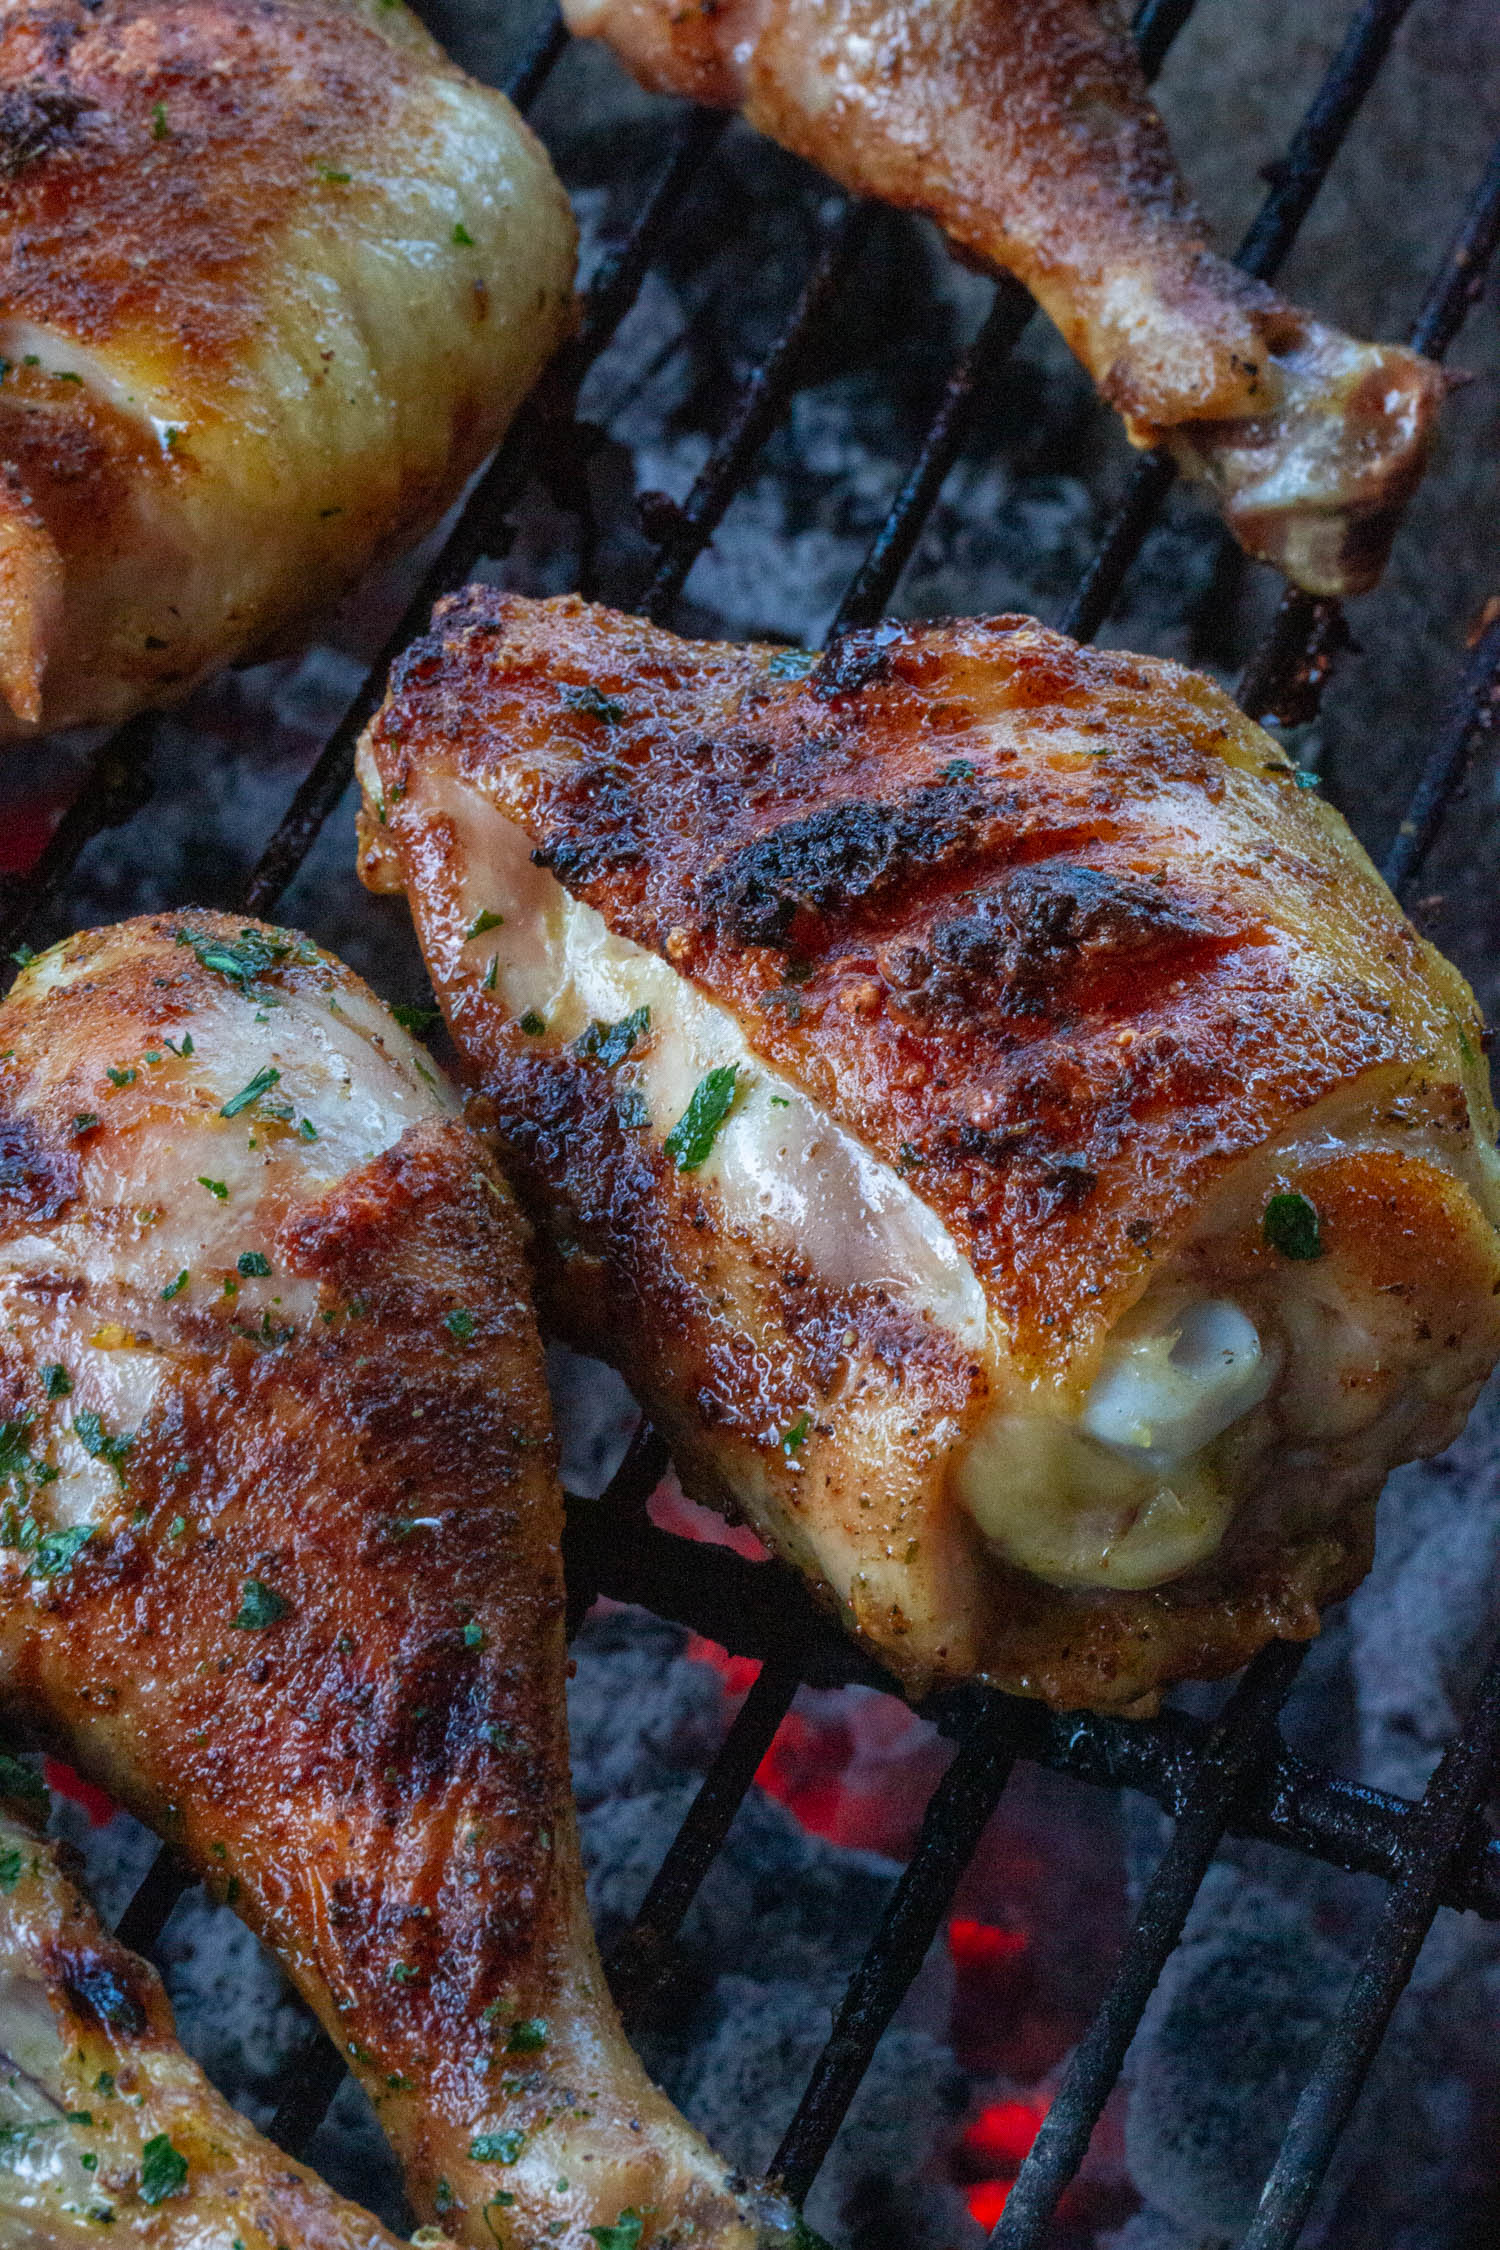
How Long To Grill Chicken Legs on a Charcoal Grill
It’s important to use temperature zones when cooking your chicken legs because bone-in chicken takes a bit longer.
Chicken legs are tricky to grill properly as they give the appearance on the outside that they’re done, when they’re not thoroughly cooked on the inside.
Sear the chicken legs for 10 minutes (direct heat) on each side so you begin to see grill marks. The rest of the cooking will be done using indirect heat. ( Allowing your chicken to cook indirectly the rest of the way is the secret to having fully cooked, flavorful chicken legs.)
Cover the grill because this will take a while. After about 10 minutes, the chicken legs will even look like they’re done, but they’re not. Continue to grill for another 15-25 minutes until the temperature reaches 165 degrees. The difference in variation is due to how many chicken legs you have loaded on your grill.
When in doubt, it's hard to overcook a chicken leg over hot coals because the dark meat is so juicy and the skin gets better as it roasts, they can be overcooked by 20 minutes and still turn out delicious.
Once over the indirect heat, you can open the grill and turn them every five minutes or so if you want because they’re cooking on indirect heat and slow roasting. This helps develop good barbecue-looking chicken skin.
Don't forget that chicken legs love a good glaze with barbecue sauce or other sweet glazes!
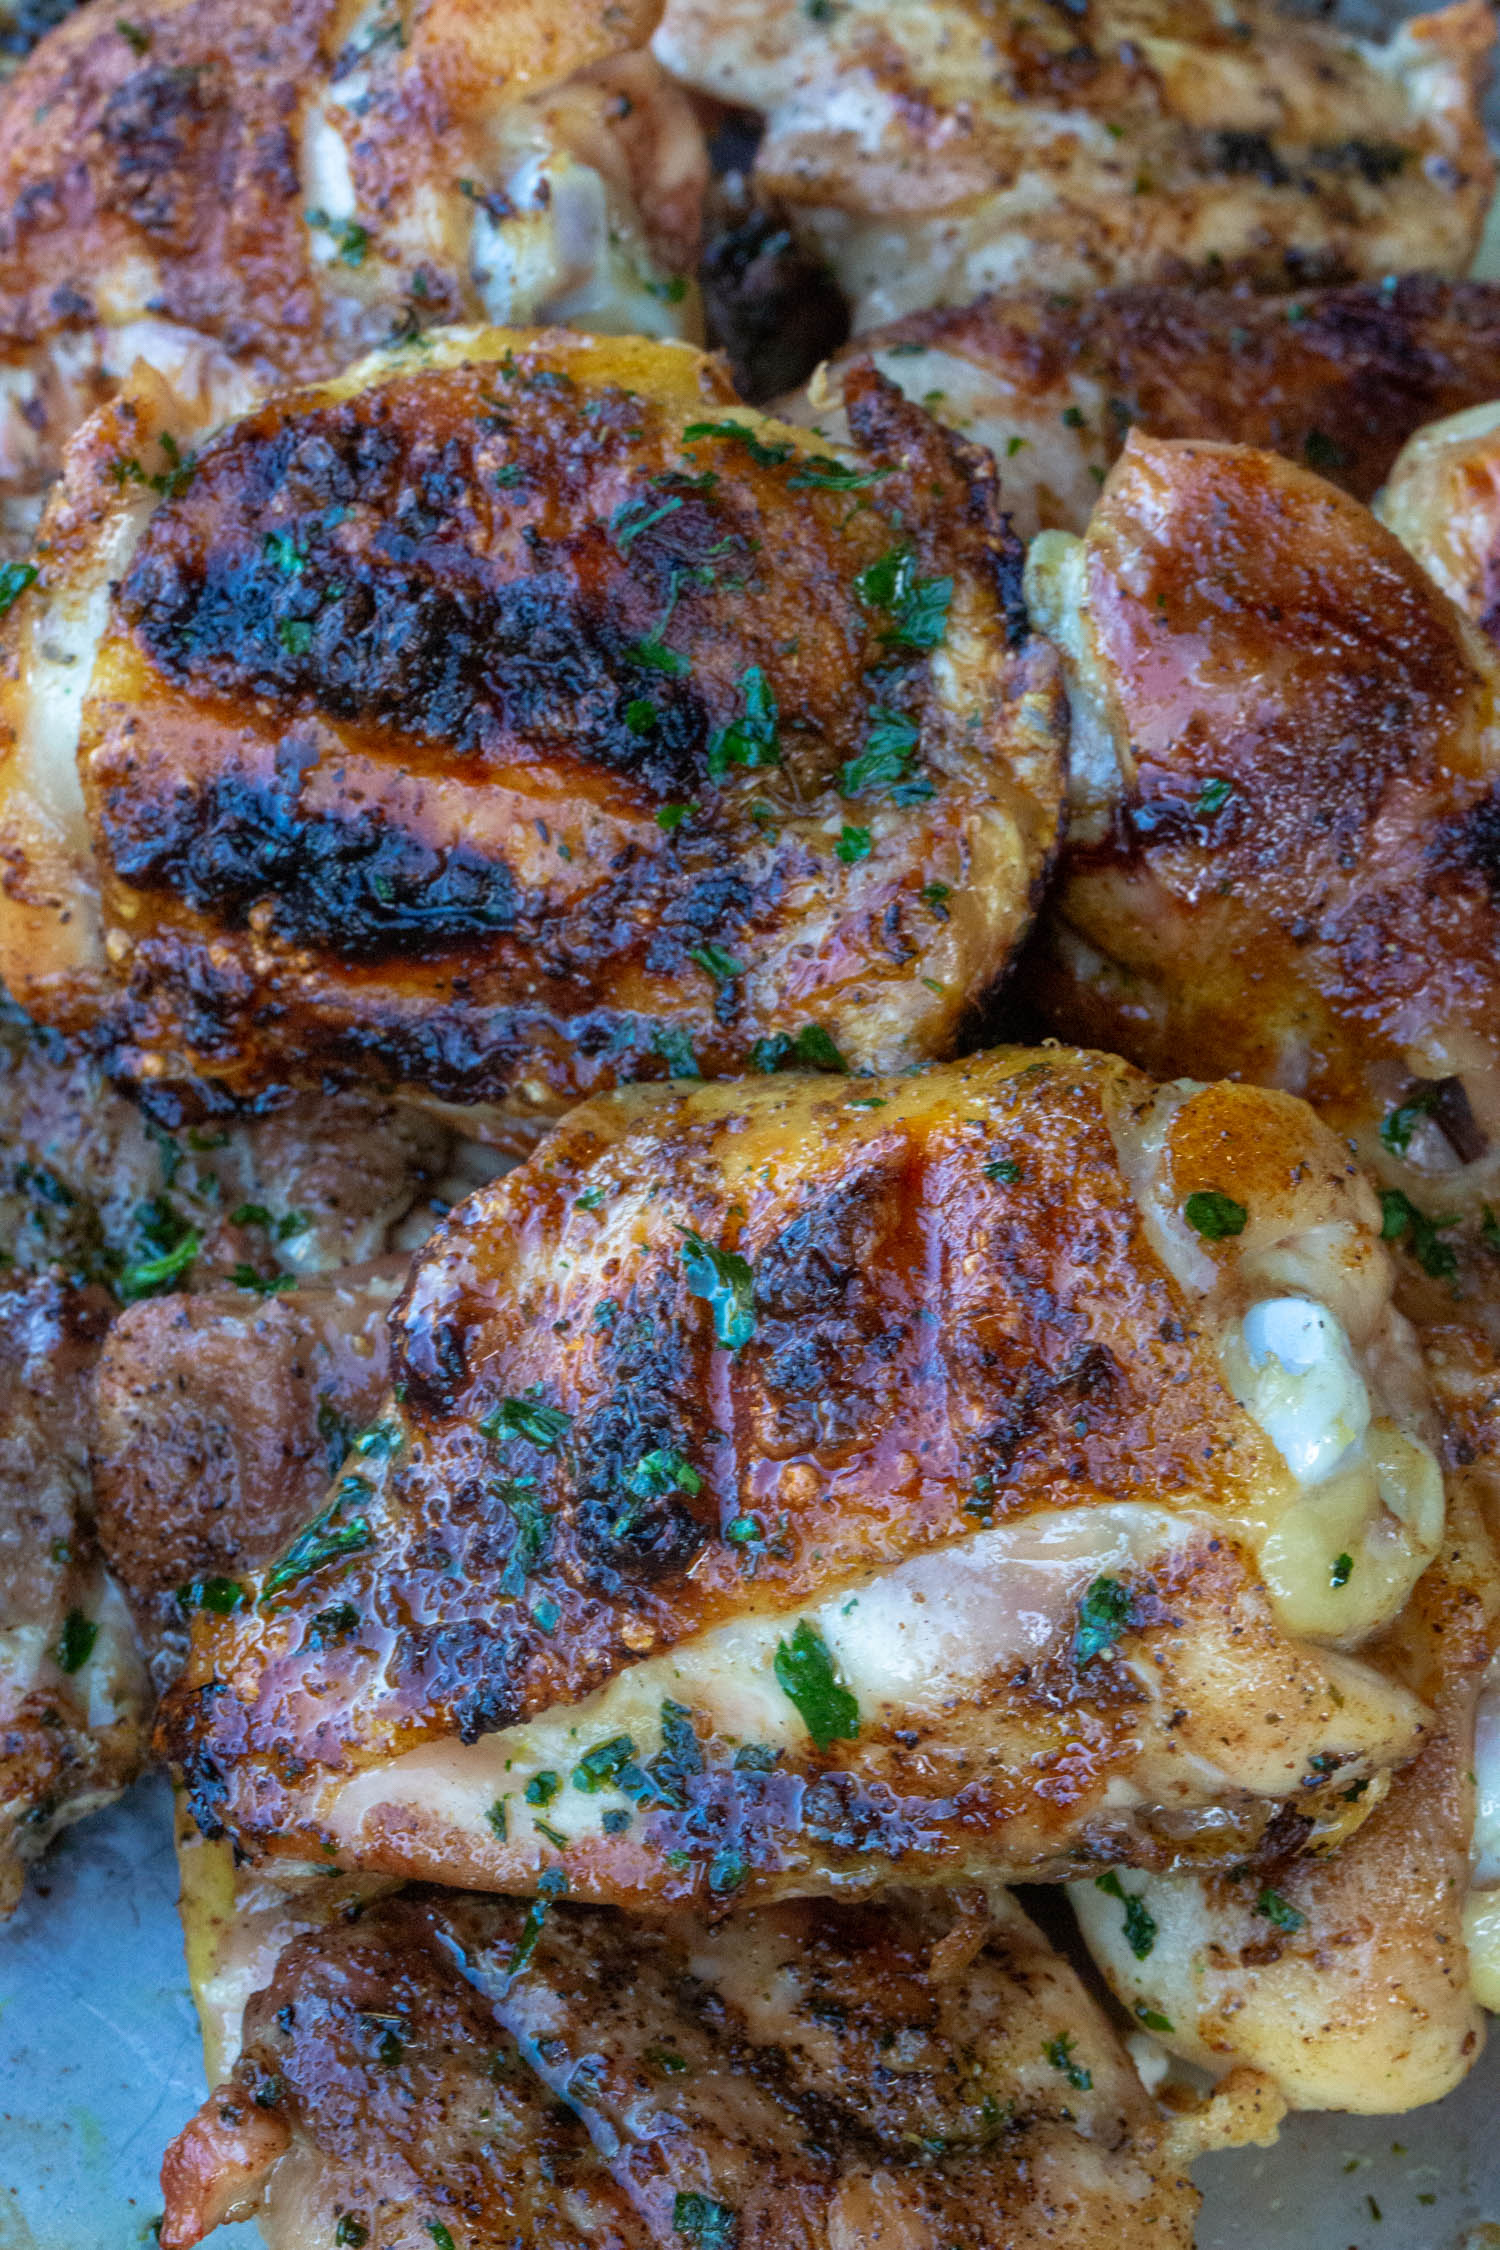
How Long To Grill Chicken Quarters on a Charcoal Grill
Chicken quarters are larger pieces of meat with more surface area and a bone, so they require a little more cooking time than the others. At 350 degrees, it’s a good idea to allow chicken quarters to cook for about 15 minutes on each side for a total of 30 minutes of cooking time.
We start with 10 minutes cook time for each side, and finish over indirect heat until an internal temperature reaches 165 degrees. The chicken cooks faster on the outside and roasts slower over the indirect heat until a digital meat thermometer reads 165 degrees.
When To Sauce Grilled Chicken
If you’re adding barbecue, teriyaki, or any other sauce to your chicken, save that until the last 3-5 minutes as your chicken is on its final stretch. Brush from one side to the other, allowing it to caramelize for a few minutes before turning and removing from the grill. Make sure to let chicken rest for 5 minutes before carving or serving.
Happy grilling! And enjoy that delicious grilled chicken!
Have questions? Need help? Have an addition or a suggestion to a recipe? Drop me a comment below!
If you make this recipe, I would LOVE to see it!
Tag me on Instagram @UrbanCowgirl and use #UrbanCowgirl to be featured. 🙂
Follow us on Social Media using the links below!!

Sean says
Thank you for this!